Building a forum based on FlaskBB
Info
Author: Void, published on October 21, 2021, Reading time: about 6 minutes, WeChat Official Account article link:
1 Introduction
Although a forum may sound like a term that's a bit outdated, we may have all used it to some extent. Whether it's a forum for new graduates looking for a job, the "BeiDa Unmanned" BBS in universities, or the 3DM forum for finding gaming resources, these forums have brought us convenience in terms of exchanging information (chitchat) and sharing resources (LZ is a good person) in our daily lives.
Setting up a forum for yourself, inviting friends to chat and chat, should be an interesting thing to do. This article will demonstrate how to build your own forum based on the open-source FlaskBB.
2 Deploying the FlaskBB Forum
FlaskBB is an open-source forum software based on Python Flask. Its GitHub Repo and documentation provide a fairly detailed installation method. We first clone its Repo.
To avoid affecting the existing Python environment, the official recommendation is to install the package and run FlaskBB in a virtual environment. We can use virtualenv to create a virtual environment and activate it. In the virtual environment, we switch to the FlaskBB folder and install the required packages:
pip install -r requirements.txt
As an optional step, we can install some development packages (in requirements-dev.txt) as well as Redis for ease of development. Of course, basic packages can satisfy the requirements for running the forum.
After installing the required packages, we need to perform some basic configuration of FlaskBB (in a question-and-answer format). We run the following code:
flaskbb makeconfig
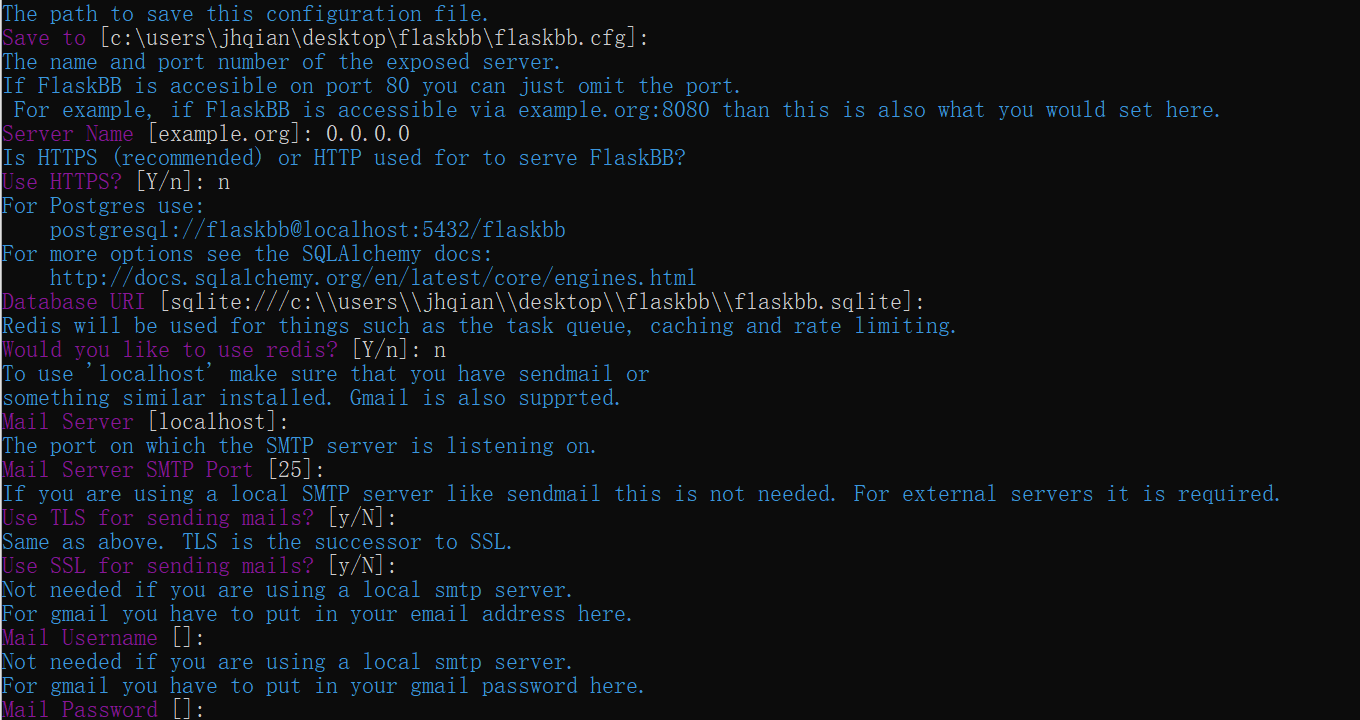
There are many optional items inside, such as using Redis, sending alert emails to the administrator's mailbox, etc., which can be configured as needed. For simplicity, I have selected the most basic configuration for all options. It should be noted that the SERVER_NAME should include the port number.
After the configuration is complete, since we did not select Redis, we will use SQLite to store data. We need to run the following command:
flaskbb install
It will ask us to create an administrator account, including the account name, email, and password. It is worth noting that this step may result in a Redis URL error. We can manually modify the Redis URL to REDIS_URL = "redis://" in the flaskbb.cfg file generated earlier.
Finally, all we need to do is run:
flaskbb --config flaskbb.cfg run
We open 0.0.0.0:5000 and can see that the forum is up and running.
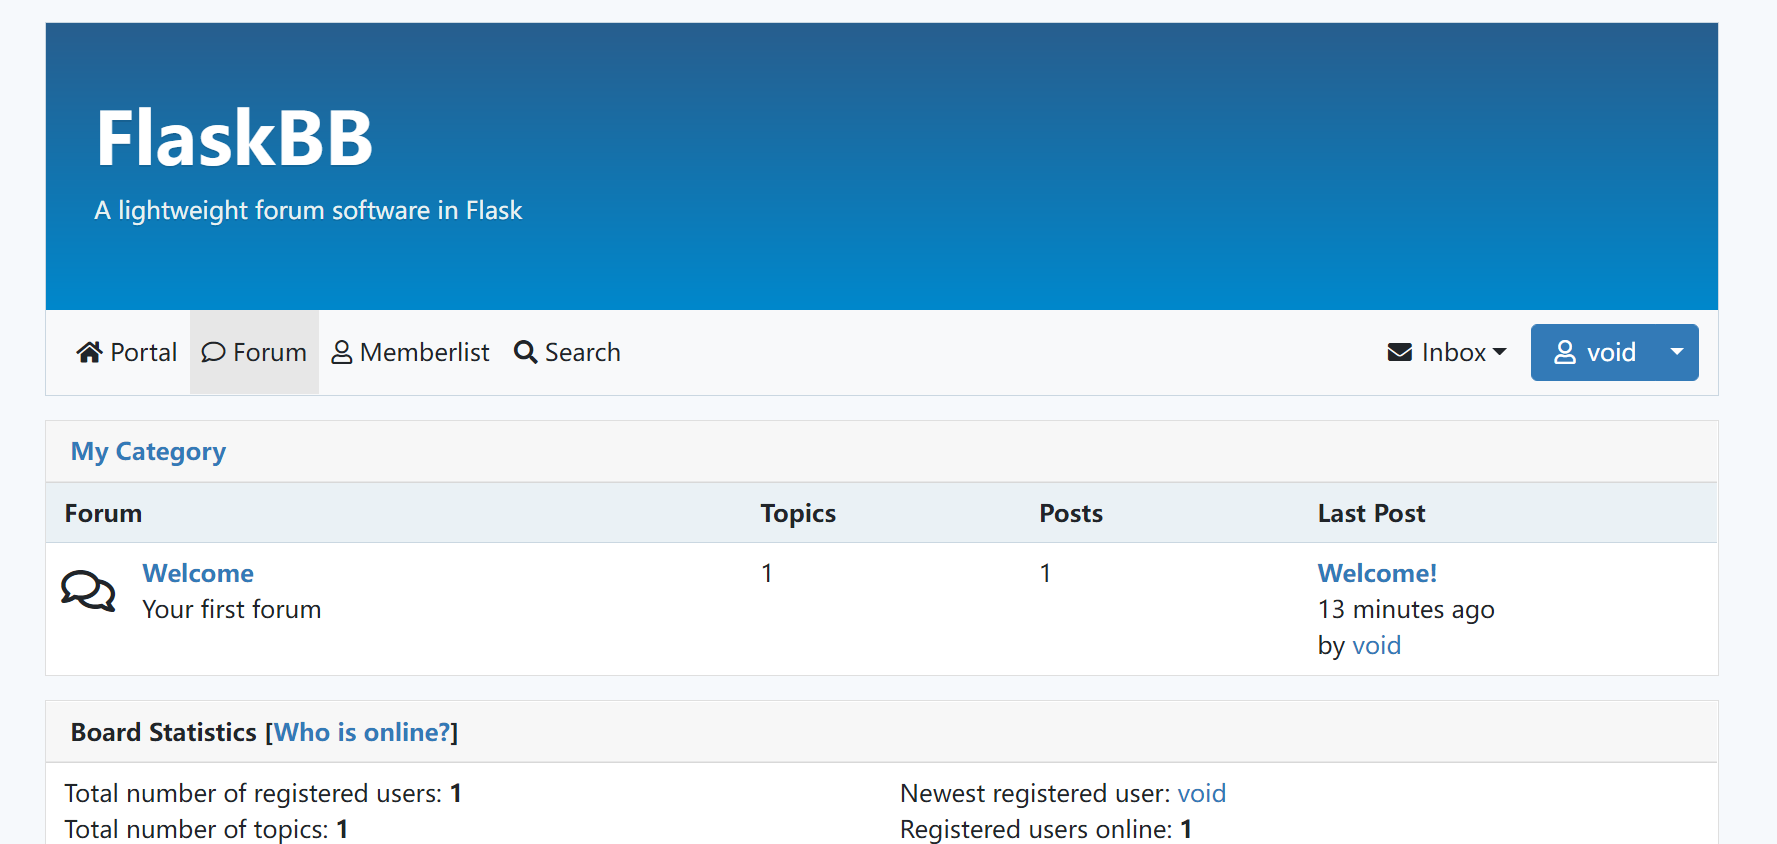
3 Using the Forum
Our forum has taken shape. First, we log into the forum through the login interface. We can see the following sections in the forum:
- Portal: including news, trending topics, and some statistics.
- Forum: the forum itself, including posts.
- Memberlist: forum members.
- Search: search function.
In the Portal section, we may see the following prompt.
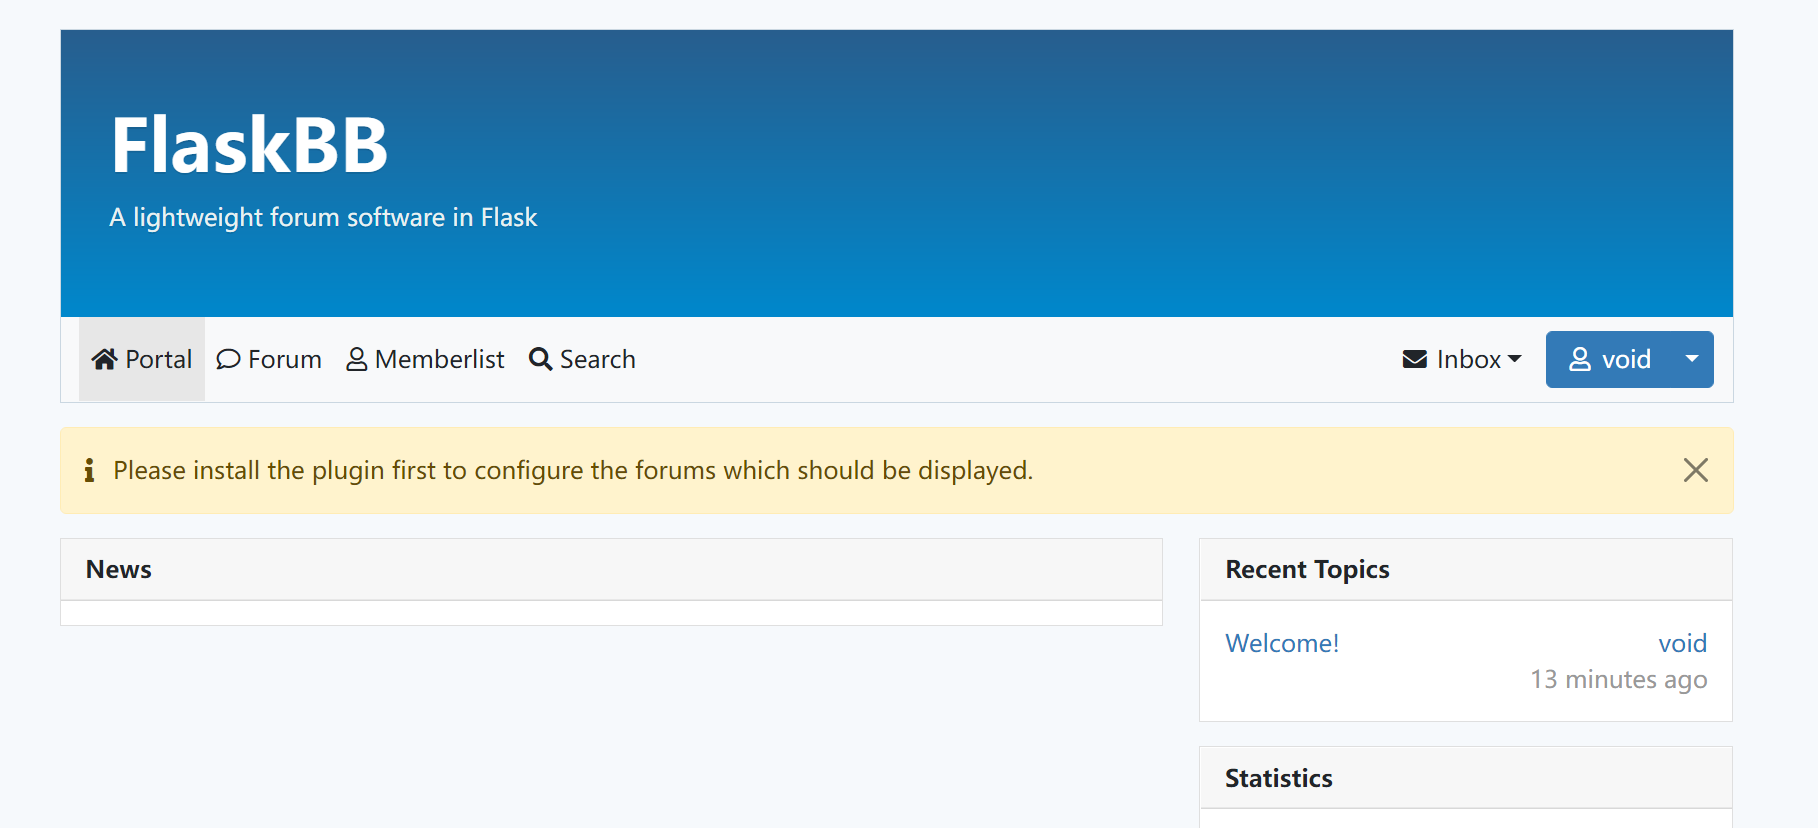
We click on the Management in the drop-down menu next to "login in" (which should be the username) and select Plugins, then install Portal (flaskbb-plugin-portal).
Now, we can see that the Portal has returned to normal.
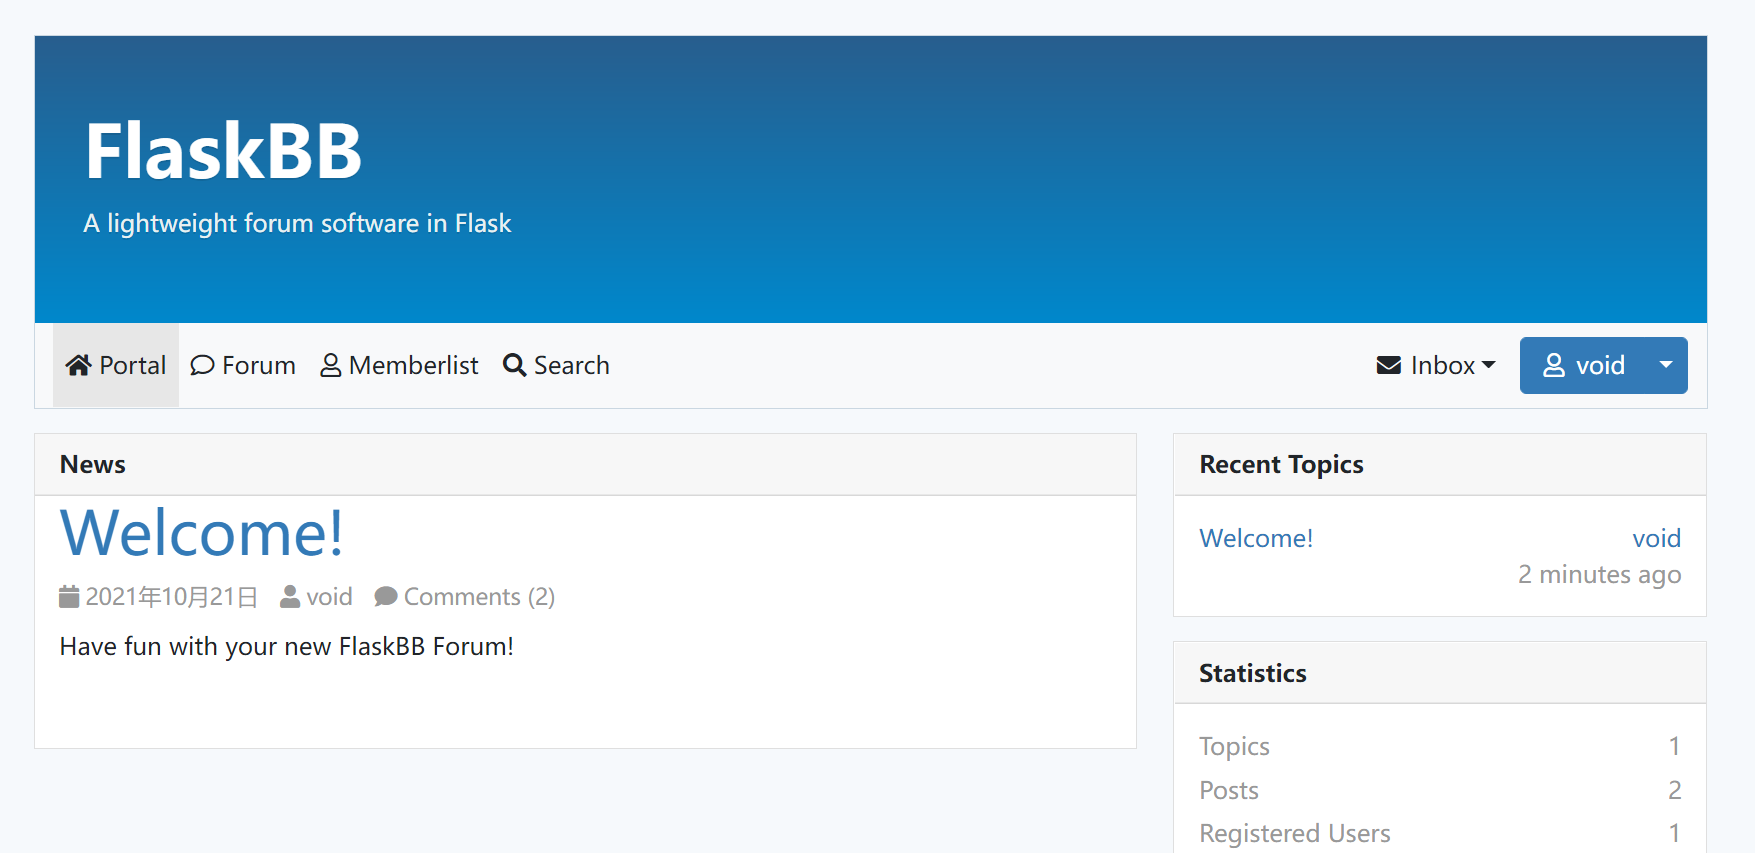
We can continue to experience the forum's features. We can smoothly edit and reply, and the user experience is basically the same as that of a mature forum.

4 Conclusion
Through FlaskBB, we have already had a forum with a fairly high level. We just need to make some changes and designs to meet our own needs on top of it. The overall code is based on the lightweight framework Flask, and modifications to it are not particularly complex. In the next article, we will talk about how to modify the code to make our forum brand new.